Hardwood Flooring, Pine Walls, and Ceilings
Hardwood flooring continues to become more and more popular. It can give a room a cozy and homey look, comes in a variety of colors and styles, and is easy to maintain. Just like there are multiple colors and styles, there are multiple forms. Much of it is “engineered” from veneered plywood, poly-resins, composites, and other synthetic materials.
Solid vs. Engineered
Solid hardwood flooring is exactly what the name implies – made entirely from solid wood. On the other hand, engineered hardwood typically consists of a plywood core with a layer of hardwood veneer affixed to the top surface.
Solid hardwood floors can be finished and refinished MANY times. So, when you get scratches in the floor from busy life, active kids, or pets, the floors can be refinished. Engineered wood floors can typically be finished only once, or not at all.
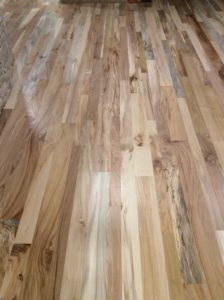
The hardwood floors made at Bear Creek hardwoods are solid wood, ¾ inches thick and typically come in 3, 4, or 5 inch widths. As with everything we do, we will gladly accommodate your custom width needs. We produce hardwood floors from just about any hardwood species: Oak, Walnut, Maple, Cherry, Elm, Hickory, and Ash – just to name a few!
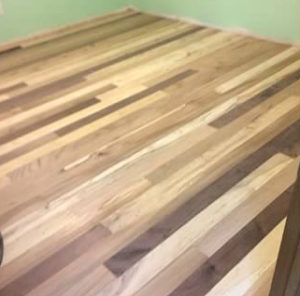
Want a “one of a kind”, unique look? Order your floors with varied species and varied board widths for installation in the same floor. Check out some flooring pictures below from a few of our happy Bear Creek Hardwoods customers!
At the heart of our flexibility and unique ability to customize flooring is our Logosol 4-sided planer. This technological wonder planes the top and bottom surfaces, while also cutting the bottom relief cut, tongue cut, and groove cut – ALL IN ONE PASS! We even bevel cut the ends at 15 degrees so the floor boards lay flat with less gaps. See how this machine works in the section below!
How to Create Flooring
-
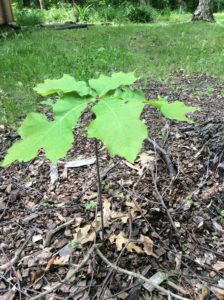
Step 1 – Grow a tree!
-
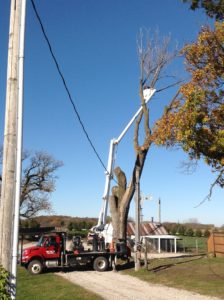
Step 2 – Remove tree based on customer request

-
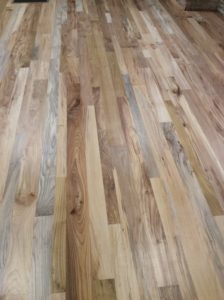
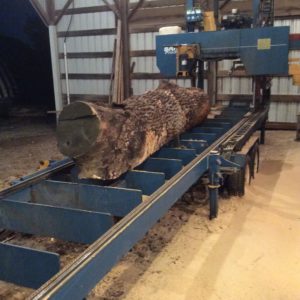
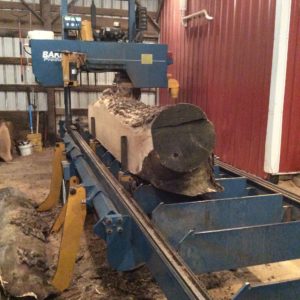
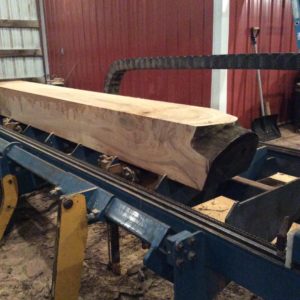
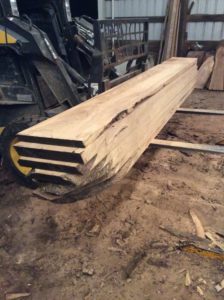
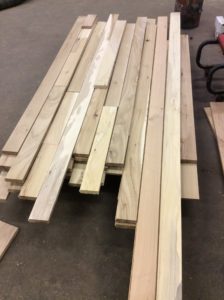
Step 3 – Mill the harvested log
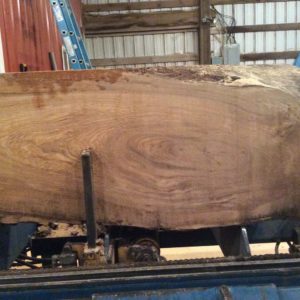
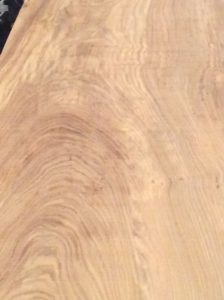
Closeup of board to show grain pattern
-
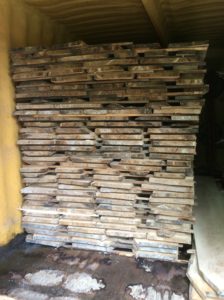
Step 4 – Dry boards in the kiln
-
Step 5 – Edge boards
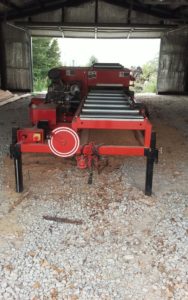
This is the edger machine used to edge boards to desired width
-
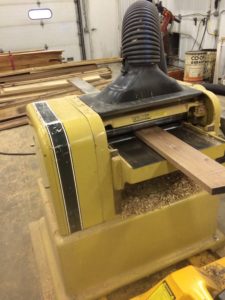
Step 6 – Plane boards
-
Step 7 – Tongue & groove boards
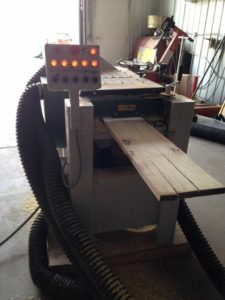
This is the Logosol in action!
-
Step 8 – Boards are ready to be laid
-
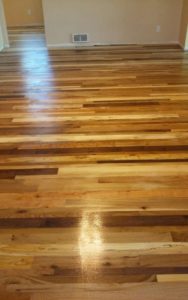
Step 9 – Final product installed!
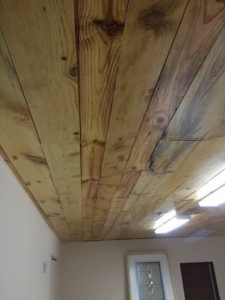
Walls and Ceilings
We use this same process and machine to also produce beautiful wall and ceiling boards. The primary difference between flooring and ceiling/wall boards is the width tends to be wider and instead of using tongue-and-groove cutters, we use ship-lap cutters.
If you have a specific flooring, wall, or ceiling need, please give us a call. We’d love to bring your vision to life!
![]() Visit us on Facebook!
Visit us on Facebook!